Introduction: Why Ear Cleaning Matters More Than You Think
Ear cleaning may not be the most glamorous part of being a dog parent, but it’s one of the most important routines for your pup’s health. Dogs are prone to ear infections, especially breeds with floppy ears or those that love water. Left unchecked, dirt, wax buildup, and trapped moisture can cause painful infections that may even affect hearing.
💡 Did you know? According to the American Kennel Club, ear infections are among the top 5 most common reasons dogs visit the vet—and they can cost pet parents hundreds of dollars in treatments.
The good news? With the right tools, techniques, and a little patience, you can easily keep your dog’s ears clean and infection-free—all from the comfort of home.
This complete guide covers everything you need to know about cleaning your dog’s ears safely: from knowing when to clean, choosing the right products, step-by-step methods, common mistakes, and even breed-specific advice.
Let’s dive into the 7 essential tips every dog parent must know.
1. Know When (and When NOT) to Clean
Not all dogs need frequent ear cleaning. In fact, over-cleaning can irritate the ear canal and strip away healthy oils. The key is knowing the right timing.
✅ When to Clean Your Dog’s Ears
- If there’s visible dirt, wax, or debris.
- If your dog’s ears have a mild odor.
- After swimming, baths, or rainy walks (to prevent moisture buildup).
- If your dog is shaking their head or scratching at their ears.
🚫 When to Skip Cleaning
- If ears are red, inflamed, swollen, or oozing discharge.
- If your dog shows pain when you touch their ears.
- If there’s a foul, yeasty odor.
👉 These are signs of an infection. In this case, cleaning won’t help—call your vet immediately instead of DIY attempts.
💡 Pro Tip: Check your dog’s ears once a week. Healthy ears should be light pink, odor-free, and without excessive wax.
2. Gather the Right Tools
The biggest mistake pet parents make? Using the wrong products. Your dog’s ears are delicate, so you need safe, vet-approved tools.
Must-Have Ear Cleaning Supplies
- Dog-Specific Ear Cleaner: Avoid alcohol, hydrogen peroxide, or vinegar. Use a gentle, vet-recommended cleaner designed to break down wax without irritation.
- Cotton Balls or Pads: Perfect for wiping dirt. Never use Q-tips—they push debris deeper and risk damage.
- Towel: Trust me, things can get messy when your dog shakes.
- Treats: Reward your dog for cooperation. Positive reinforcement is key.
💡 Pro Tip: Keep a small “grooming kit” box with these essentials so you’re always prepared.
3. Make It a Positive Experience
For many dogs, ear cleaning feels strange. The trick is to make it stress-free so your dog learns to tolerate (and maybe even enjoy) it.
How to Prepare Your Dog
- Choose a quiet, calm environment where your dog feels safe.
- Gently massage their ears or pet them before starting.
- Use treats at every step—reward calm behavior, not just the end result.
💡 Pro Tip: Start early. If you have a puppy, get them used to ear handling from day one. It will make grooming so much easier as they grow.
4. Apply the Ear Cleaner Correctly
Here’s where most mistakes happen. Follow these safe, vet-approved steps:
- Lift the ear flap gently so you can see the canal.
- Apply a few drops of ear cleaner (follow the product’s instructions). Avoid letting the nozzle touch the ear.
- Massage the base of the ear for 20–30 seconds. This helps the cleaner loosen wax and debris. (Yes, those squishy sounds are normal!)
- Step back and let your dog shake it out.
💡 Pro Tip: Keep your tone calm and reassuring. Your dog picks up on your energy—if you’re stressed, they will be too.
5. Let Them Shake
Dogs instinctively shake after liquids enter their ears—it’s part of the cleaning process. Instead of stopping it, let it help you.
- Stand back to avoid getting sprayed.
- Keep a towel handy to catch splatters.
- Shaking helps bring debris to the outer ear where you can wipe it away safely.
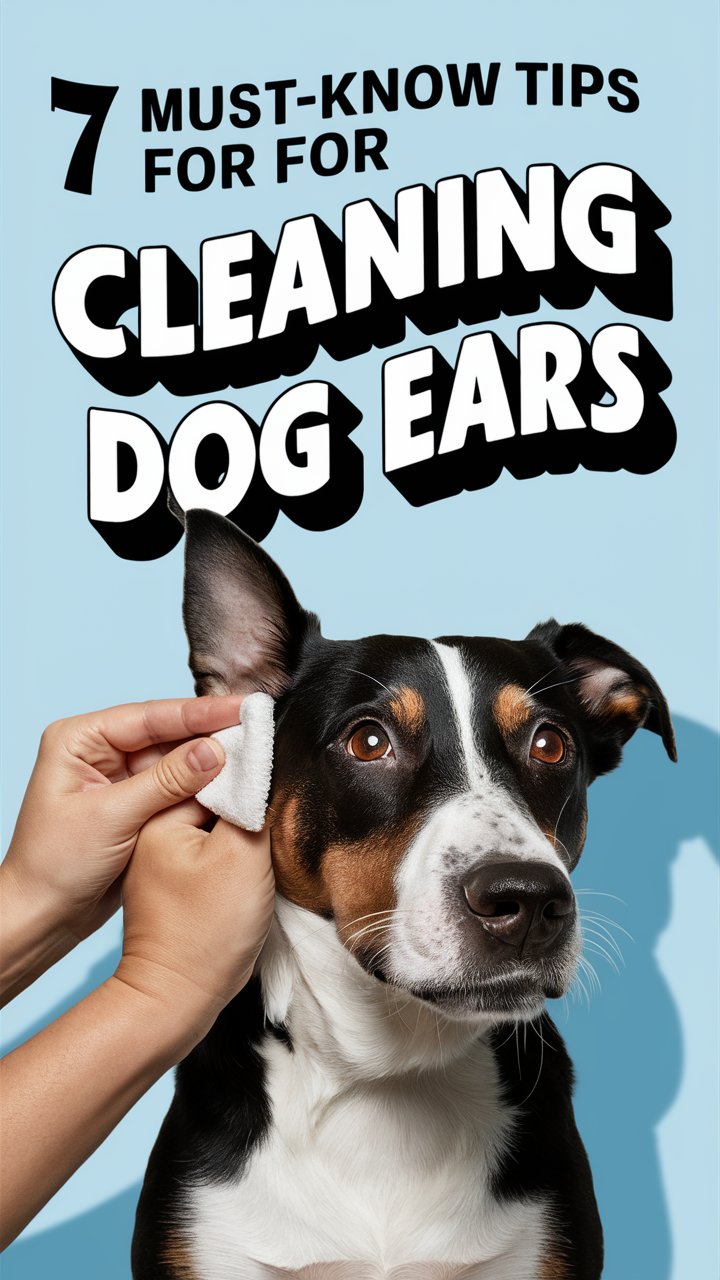
6. Wipe Away the Gunk
After the shake, use a cotton ball or pad to wipe away visible dirt and wax.
Do’s
✔ Be gentle—focus on the outer ear canal and flap.
✔ Use a fresh cotton ball for each wipe.
✔ Stop if your dog shows signs of pain.
Don’ts
❌ Never use Q-tips inside the ear canal.
❌ Don’t scrub—irritation can cause infection.
❌ Don’t attempt to remove deep debris. That’s a vet’s job.
Repeat until the ear looks clean, then move to the other ear.
7. Reward and Repeat
End on a positive note! Praise, cuddles, and high-value treats will make your dog associate ear cleaning with something enjoyable.
How Often Should You Clean?
- Floppy-eared breeds (Cocker Spaniels, Basset Hounds, Labradors): Every 1–2 weeks.
- Active dogs who swim or play outdoors: Weekly.
- Dogs with upright ears (German Shepherds, Huskies): Every 2–4 weeks.
💡 Pro Tip: Consistency prevents buildup, meaning quicker, easier cleaning sessions each time.
Bonus Section: Why Regular Ear Cleaning Is Crucial
Many dog owners skip ear cleaning—until a vet bill shows up. Here’s why it matters:
- Prevents painful infections.
- Stops mites, yeast, and bacteria from multiplying.
- Reduces itching, odor, and discomfort.
- Saves money on expensive treatments.
- Improves your dog’s quality of life.
Common Mistakes to Avoid
❌ Using human products (peroxide, alcohol, vinegar).
❌ Over-cleaning (irritates ears).
❌ Ignoring chronic redness or smell.
❌ Forcing your dog into cleaning (creates fear).
Breed-Specific Ear Care Tips
- Floppy-eared dogs (Beagles, Cocker Spaniels): Higher risk of moisture buildup → clean more often.
- Hairy ear canals (Poodles, Schnauzers): Ask your groomer or vet if plucking is necessary.
- Water-loving breeds (Labs, Retrievers): Always dry ears after swimming.
- Brachycephalic breeds (French Bulldogs, Pugs): Narrow ear canals → monitor closely for infections.
Vet’s Advice: When to Seek Professional Help
See your vet if you notice:
- Persistent odor despite cleaning.
- Excessive scratching or head shaking.
- Blood, pus, or unusual discharge.
- Sudden hearing loss.
Ear infections can worsen quickly, so never delay treatment.
FAQs (SEO Boost Section)
Q: Can I use baby wipes to clean my dog’s ears?
A: No, baby wipes aren’t designed for ear cleaning and may irritate. Use vet-approved cleaners only.
Q: Is hydrogen peroxide safe for dog ear cleaning?
A: No. It can cause irritation and damage delicate tissues.
Q: My dog hates ear cleaning. What should I do?
A: Break the process into small steps, reward often, and consider professional grooming if needed.
Q: How do I know if my dog has an ear infection?
A: Signs include redness, discharge, strong odor, and head shaking. Always see a vet.
Final Thoughts
Cleaning your dog’s ears doesn’t have to be stressful—for you or your pup. With the right tools, gentle handling, and a positive approach, you can make ear cleaning a simple routine that keeps your dog comfortable, healthy, and happy.
Remember: a clean ear is a healthy ear, and a healthy ear means a happier dog. 🐾